


Hello, fellow latent explorers!
Z-Image is here and it brings fun back to image generation. In this guide I will show you how to setup Forge Neo for it and few tips and tricks.
Updates
03.12.25 - civitai botched some images, so they are reuploaded (hopefully).
08.12.25 - added upscale part and image comparison tool
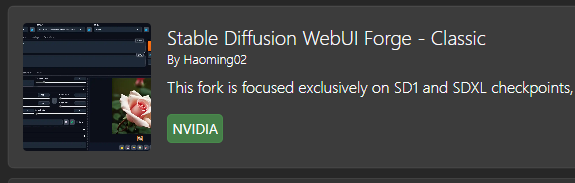
About Forge Neo
Forge Neo is branch of Forge Classic that is fork of original Forge. But to make things more complicated it is actually based on Forge2 (This is second iteration on newer Gradio that broke all your favorite extensions for A1111).
Link to it is here
Other alternatives available at the date when I write this:
erzatzForge by DenOfEquity
Cromaforge by maybleMyers
ComfyUI by comfyanonymous
Why Forge Neo? No specific reason. Author implemented it there, as well as few tricks. Also I am just used to this setup, so why not. And also it is available on StabilityMatrix, which I use, and that, of course, was totally not main reason for me. Absolutely not.
Setting up
Installation
Read installation instructions on main page if you want it installed separately.
But I personally use StabilityMatrix. Because it is convenient. Separate model and lora downloader that allows you to keep track of updates. Multiple UI's setup from one place simultaneously. Updates directly in it, shared folders for models and outputs and other good stuff.
To install Forge Neo in it click on Packages tab then click Add Package on the bottom.
There click on:
In it click on Branches and select neo:
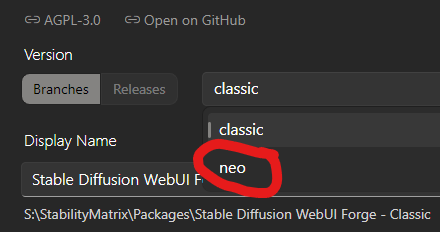
That's it. Now you can launch it.
Before start
Neo simplifies some things in folder management compared to original A1111 and Forge.
Relatively hated FurkanGozukara has really good guide for it here. Read it. Especially this part.
Long story short - copy your favorite spandrel architecture upscalers into folder models/ESRGAN/
Also make sure that in launch options --sage is selected.

This will install SageAttention2 on start to speed up your inference.
After first start
If you thought this is guide boring and obvious - here comes the interesting part.
Here are settings that I use. Setting stuff up this way or your own - up to you. This is what I use.
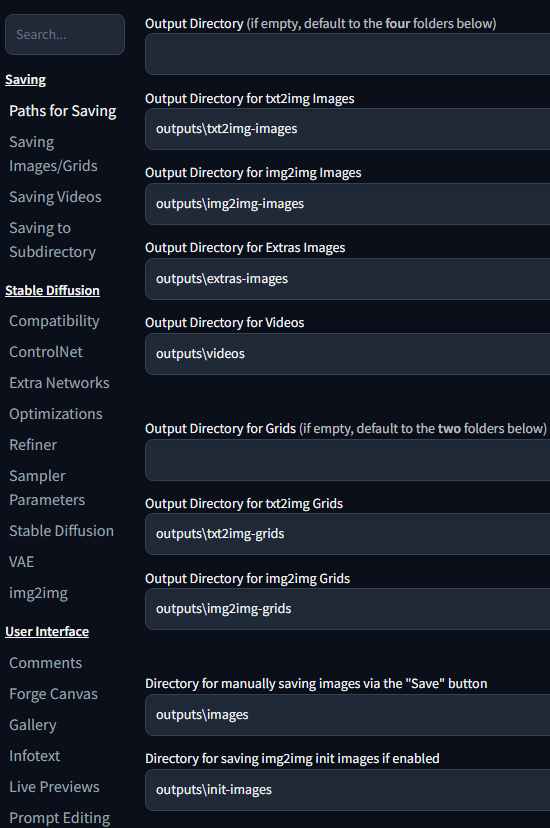
First go to settings and on first page set up your path to saving images. For whatever reason author changed them from originals and all your output folders would point to folders not symlinked by StabilityMatrix's default ones. Just change output to outputs here:
Saving images grids tab
Increase maximum grid size for playing with x/y/z prompts:
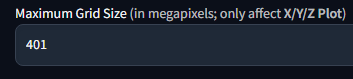
Be careful, it can hang up your system, there is reason it is here.
Stable Diffusion tab
Scroll down and increase Steps to use Empty Prompt at the beginning

This makes set number of first steps in inference use empty prompt to start with random image. This trick widely increases variation between different seed, which is a huge problem for DiT architecture models like Qwen Image, Z-Image etc. Otherwise different seed land too close together.
For example 9 steps ZIT without it:

With it enabled:
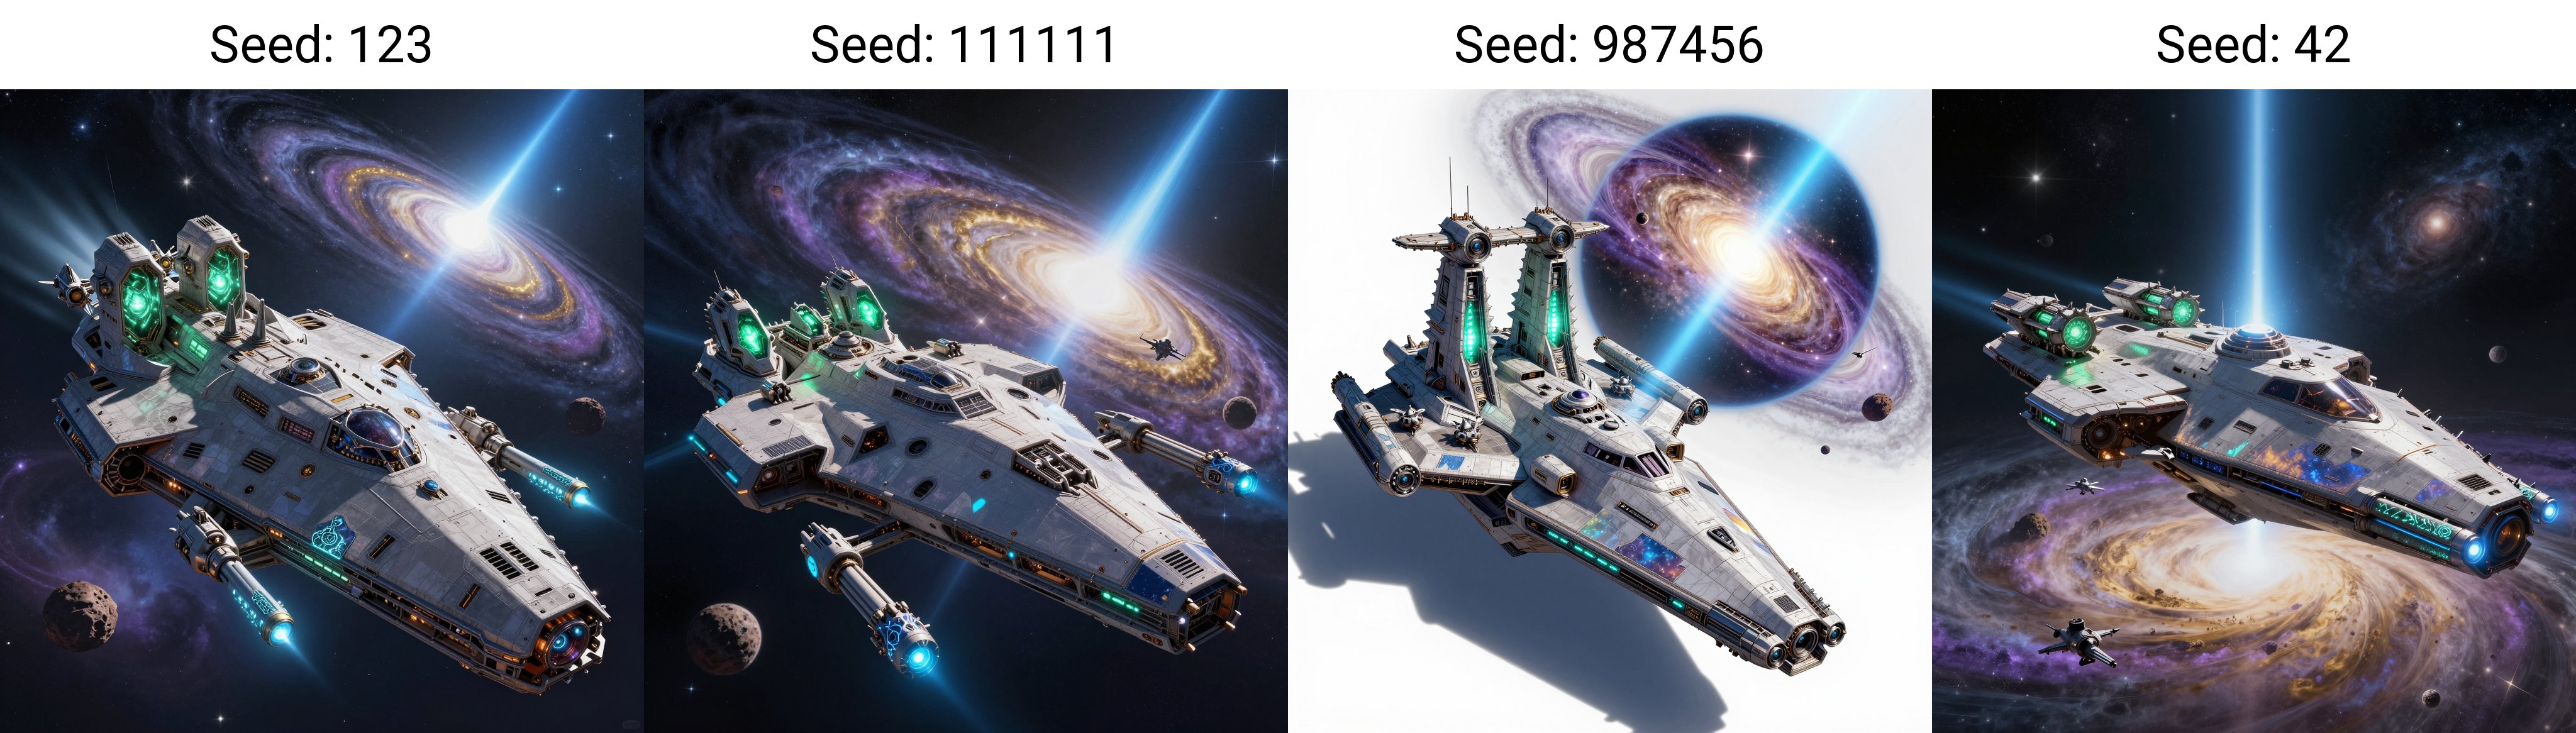
As you can see, some times it is for better, some time it gets worse. Welcome to fun.
Funny side note. Since this UI inherits A1111 prompt controls, this can be mimicked by purely formatting your prompt with [prompt:startat:stopat].
Not so funny side note: because of same formatting you cannot use AND or OR with caps in prompt. Legacy...
img2img tab
Click here:

Most probably will be useful with base and edit models when used from that tab.
Live Previews tab
If your hw can handle it, set:
Live preview method TAESD
Show the live previews in full page image viewer ON
Generate live preview every N step 1
This is fun. If your UI is lagging during generation - disable that.
UI Alternatives tab


User Interface tab

This will be helpful for edit model later.
LUMINA tab
Set your desired inference settings at startup here.
Extensions I installed
From Available tab:
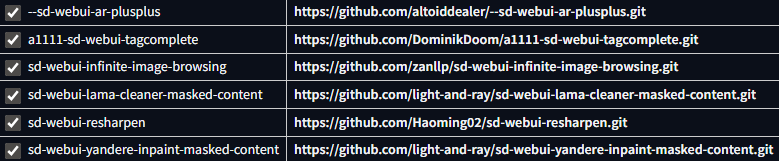
Those were my daily drivers with Forge. I recommend them. Though tagautocomplete is not needed now.
Install via url:
https://github.com/Volnovik/sd_civitai_extension
Unfortunately original civit extension does not work with Forge. This is my fork where I fixed that. After first launch - wait till it scans everything. After that your model and loras would be embedded in metadata and picked up by civitai automatically on upload. Unfortunately it does not work with some loras and models due to hashes issue.
It still gives you error regarding model hash when pasting image to prompt, but I am too lazy to fix that.
Download model
Use StabilityMatrix or whatever you want to download model, text encoder and vae. Vae is from Flux1dev, so you can reuse that.
Now restart whole thing.
After restart select lumina preset on top and select everything:

Generation parameters
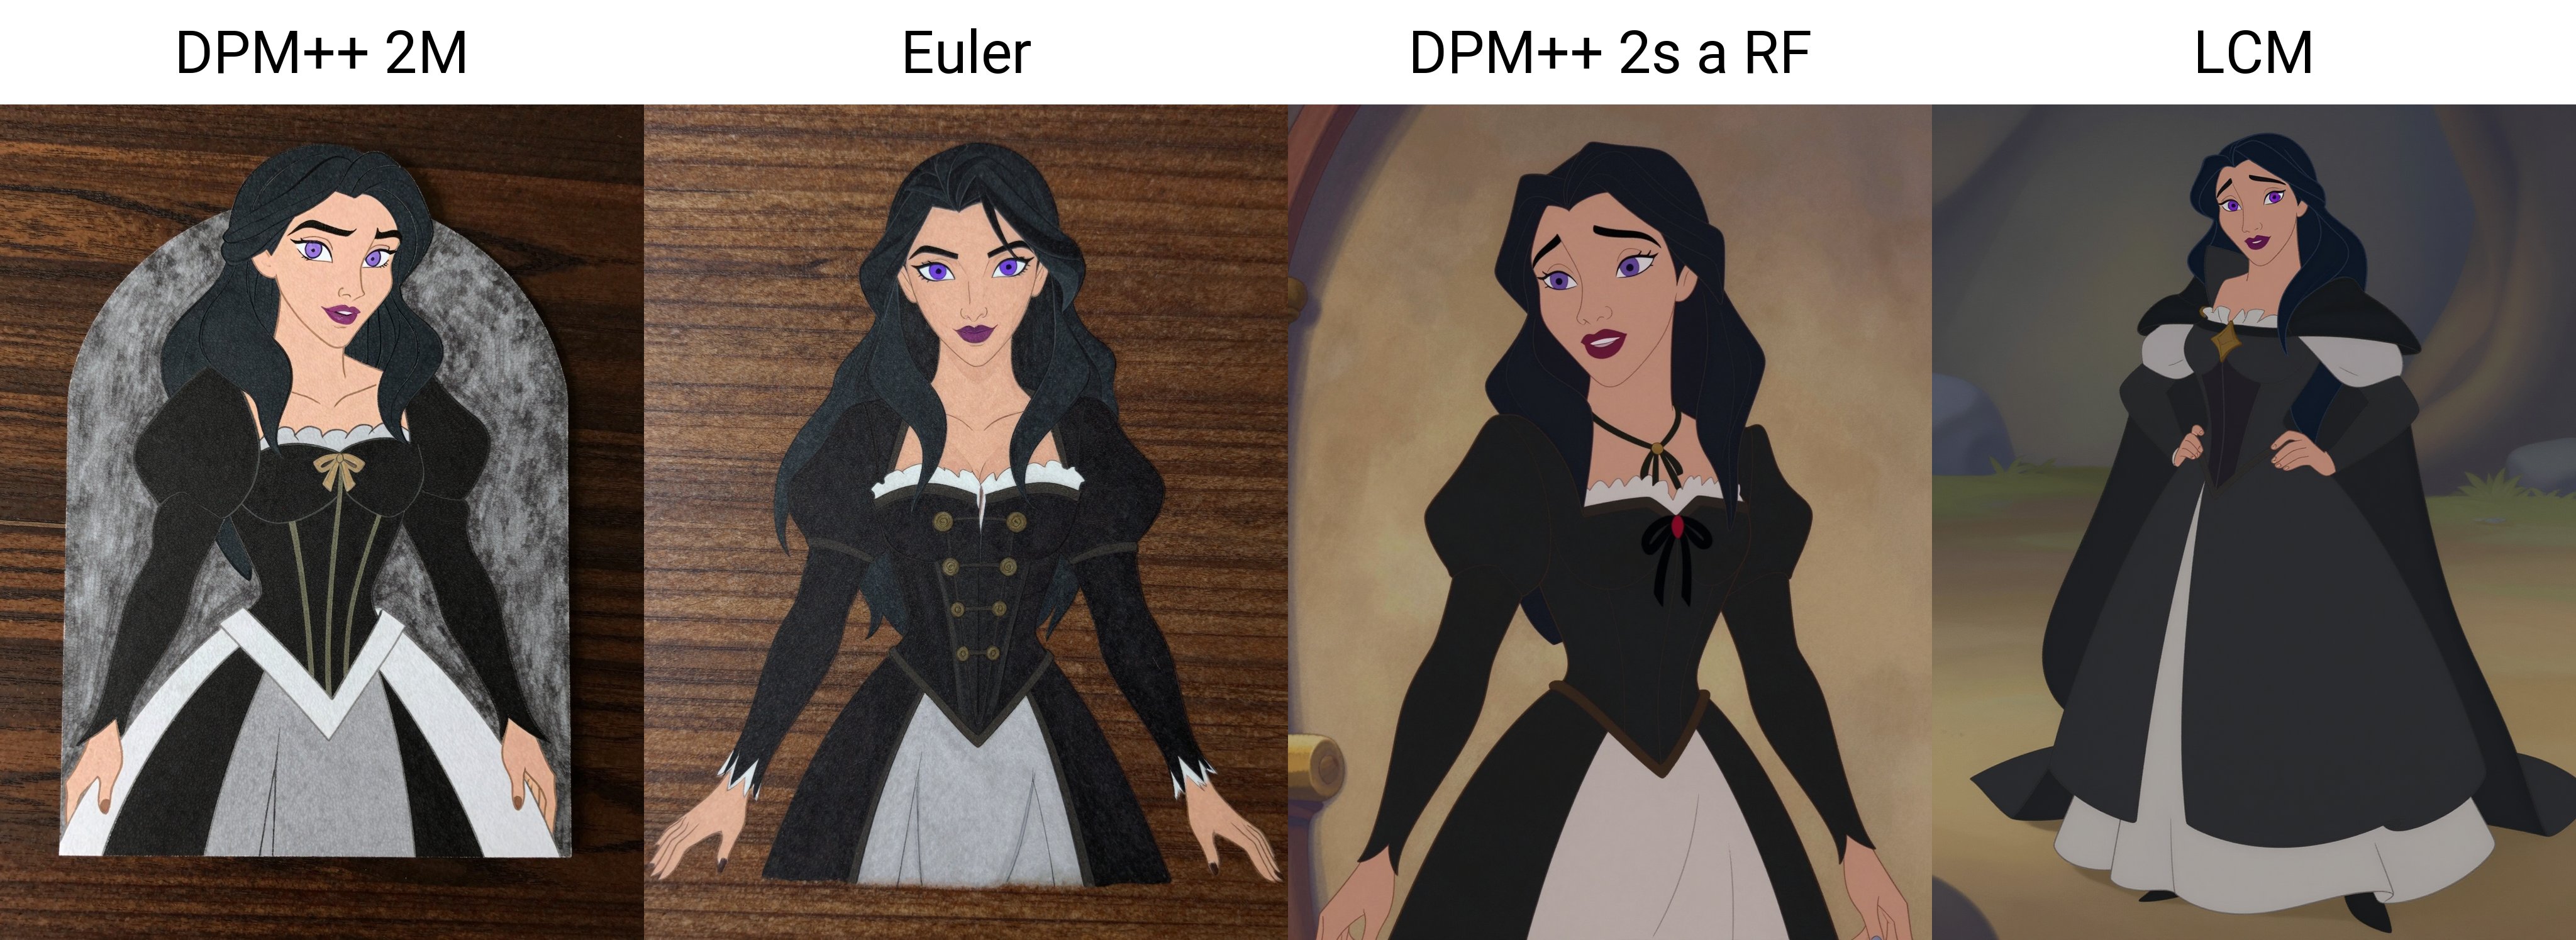
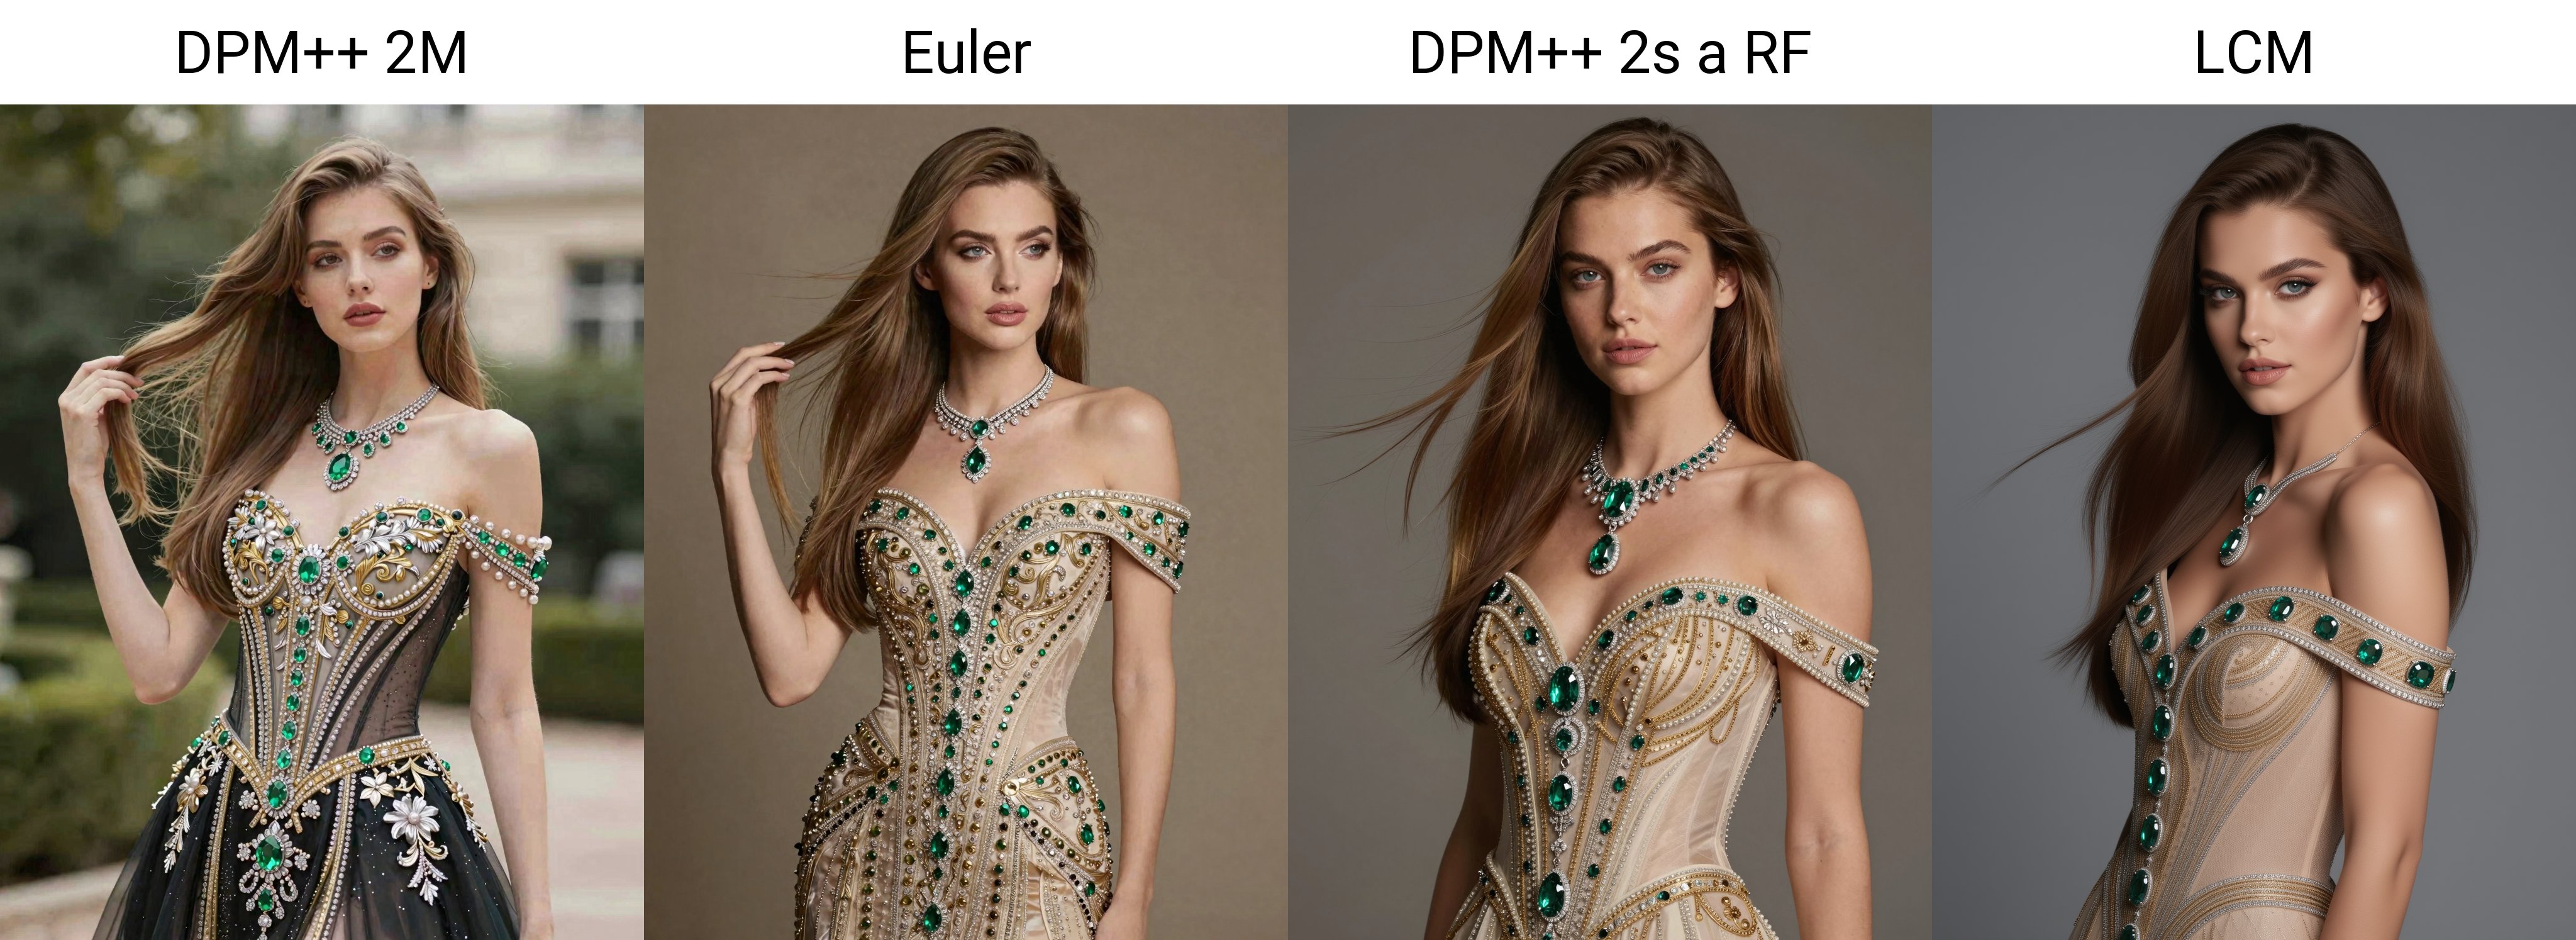
I did whole bunch of comparisons that are too big to share. IMO best sampler/shedule combo for Z-Image Turbo is DPM++ 2s a RF / Beta
Second best is LCM / Beta. This one gives a lot more flat images with "plasticky" looking skin on realistic images. It gives visibly less details, but it shines with anime for example:

Euler gives too messy details.
DPM++ 2M is another strong one. It sometimes gives more saturated images (see example), but adds grain. This can be beneficial for so called "realistic skin". DPM++ 2s a RF is just a more diverse and interesting one.
Most of the time DPM++ 2s a RF gave me better adherence to prompt. But also from time to time it was worse than others ¯\_(ツ)_/¯
DPM++ 2M absolutely works worse with Steps to use Empty Prompt at the beginning set to 2. At least on recommended amount of steps.
LCM also tends to stick to random image too much
On the upside this combo sometimes produce hilariously stupid results, so it can be fun:
A colorful, flat color hand-drawn image of a character depicted in a style of Disney Renaissance animation - inspired character, with a mix of realistic and fantastical elements. Image should have a strong emphasis on flat color design, color, light, and shadow, which creates a rich and immersive atmosphere. Character is Yennefer of Vengerberg from The Witcher with her iconic lilac eyes. She is wearing black and white dress. Overall image should perfectly capture the art style of 1990s Disney animation like Hercules, Aladdin, Tarzan, Mulan and Beauty and the Beast. Image is crisp and high quality.
Steps 9 or 10. I use 10
CFG Scale 1 - because it is distilled model
Shift 6 - default value for UI. Default for model is 3, it leaves to much grain IMO. I think it is a sweetspot.
In order to play with shift value in X/Y/Z plot - use Distilled CFG Scale value, it is reused for that purpose internally.
ReSharpen 1-Sin 0.9
^ value 1.0 is not working. Affects DPM++ 2M too much, lower it if you use that sampler.

This example was made before I enabled skips steps btw. With it:

You can rightclick on above image and open it in new tab to see the difference yourself.
Same seed but with 20 steps:
You can see the grain artefacts introduced by 0.9 resharpen on DPM++2M
Decrease it for flat color stuff.
Upscaling
I tried to play with Mixture of Diffusers, but results were just bad. Since model is fast and holds up with high resolution easily I just gen at 1024x1328 then upscale x2 with 0.2-0.3 denoise.
0.25 denoise here probably was too much. And maybe upscaler choice was bad.
This will be updated later, after I test some stuff.
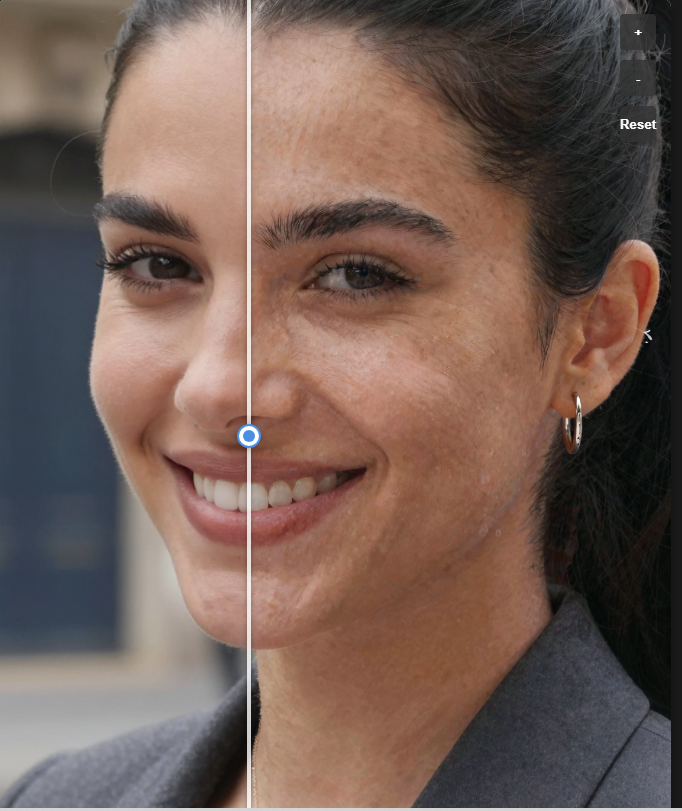
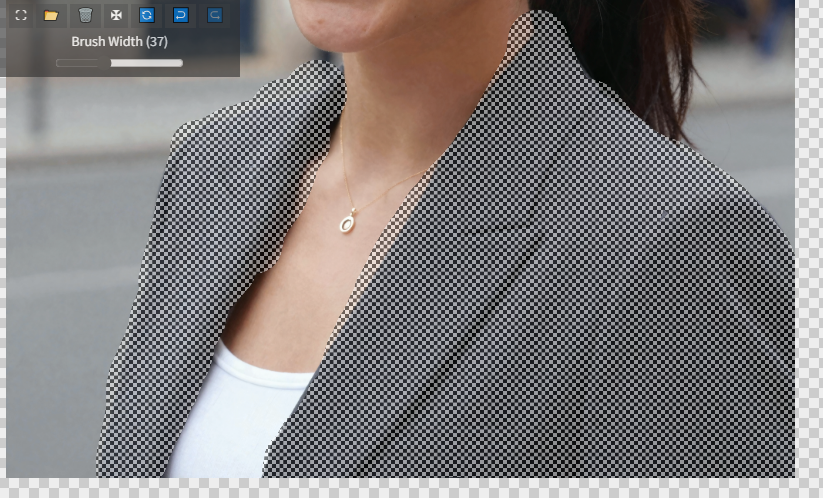
Ok, why it took me so long to get to upscaling? Outside of irl stuff I was vibecoding a local tool to compare two images. You can see it in attachments. Allows two modes - slider and difference map. Why? To check if I could. And difference map turned out to be really useful to check if there is some difference at all.
Also it is convenient to have it opened in a separate browser tab, since all local generations I use relies on browser anyway.
To upscale we will utilize certain features of sampler and UI.
Some samplers cling to original image more. This allows us to raise denoise.
Forge Neo has Mixture Of Diffusers implemented and yes, it works for ZIT.
At first I was not impressed by upscaling since it either introduced odd grain or there was no difference between just upscaler output and upscale with the model result.
Or I was looking at some poor soul with skin cancer:
^this is DPM++ 2M just in case you were wondering.
After checking different combos I settled on Euler/Beta for upscale. I did not test all of them, there are just too many combinations and it takes too long to compare.
Another big thing was lowering Shift to 3 despite all bonuses in txt2img, for img2img it degrades results at higher resolutions.
Steps? 9-10. And don't forget about img2img settings I told you earlier:

Another big thing is Mixture of Diffusers (MOD) working. It's original implementation in Comfy works only for SDXL. Forge implementation persists across models
Mixture of Diffusers basically splits image to tiles and generates them in one batch. This is slower due to overhead, but all modern model seem to introduce more refined details at a bit over 1MP resolution. What is interestin, with Euler/Beta I did not see any difference between with and without it up to 0.23 denoise (other samplers shown difference earlier). With everything else fixed and same names for all images I started questioning if it even worked.
With it model starts adhering to prompt in every batch of an image at around 0.33 denoise:
Without MOD, 0.4 denoise:

With MOD:

On one hand it adhered to original prompt and added axe in this quarter. On other hand, there are clearly more details. Higher denoise without MOD bring comparable amount of details, but adds those nasty grainy artefacts:
0.4 no MOD:
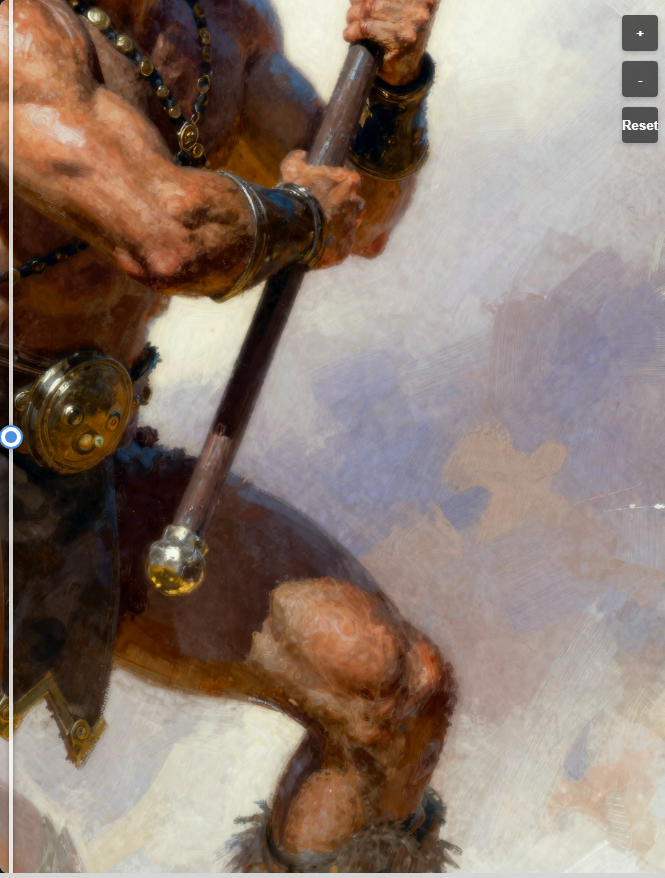
0.32 MOD:
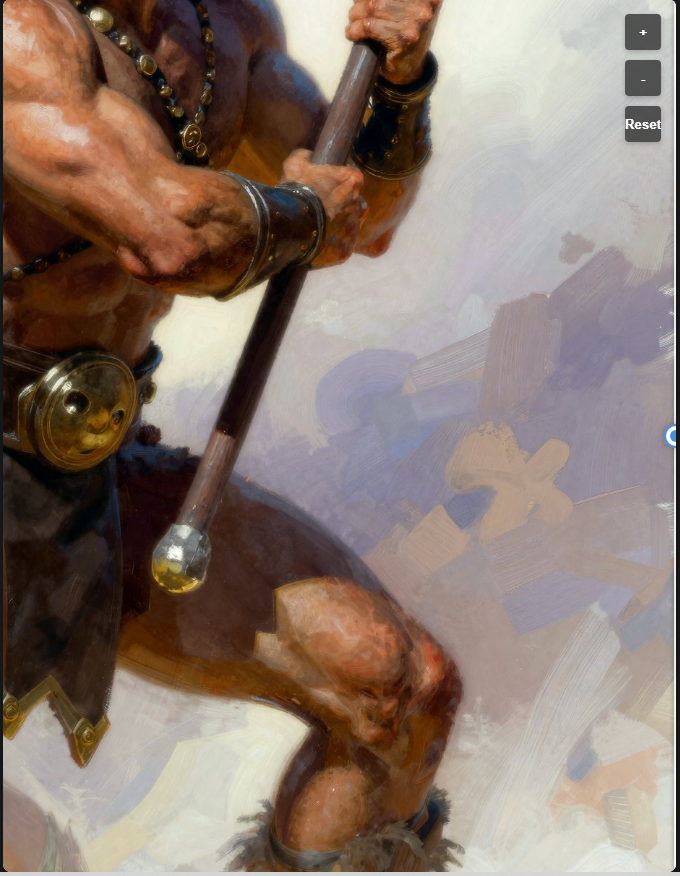
Original:
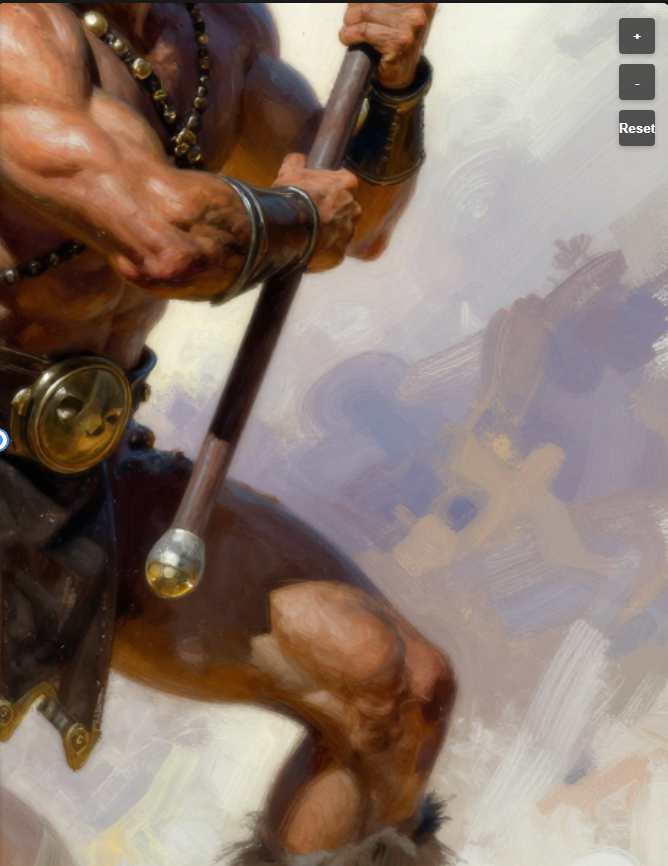
It just looks way cleaner, It is hard to compare that without slider and I am not making gif for that, sorry.
Spin it up and check yourself, comparison tool is attached.
How to calculate tiles for it and such? Don't. Just set resize by 2 in image resolution and copy original resolution in MOD tab:
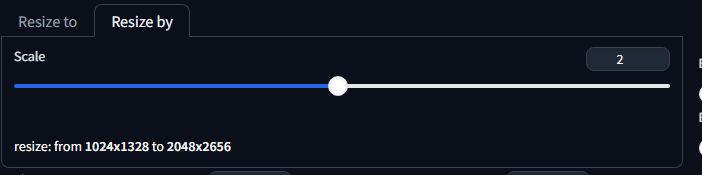
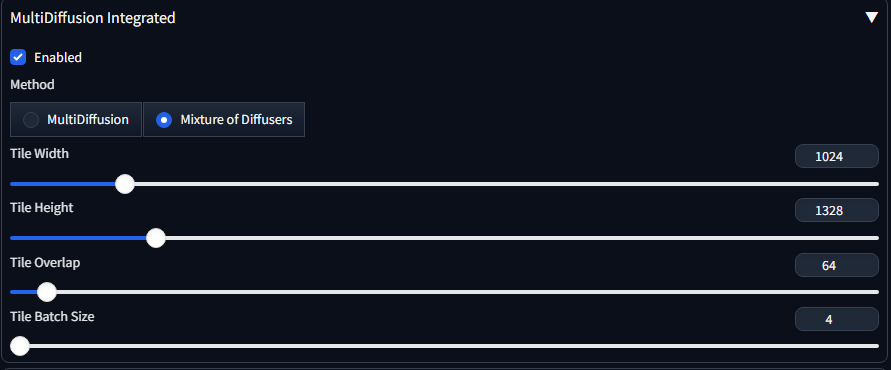
This will upscale the image using chosen upscaler by x2, then split that image in 4 and push that batch to generation.
Denoise is hard. Safe spot IMO is 0.26 with all those parameters. Going higher will fry skin on closeup photos.
But on wide shots like image above you can relatively safely go even higher, up to 0.32. If it is not a photorealism.
So in the end, my go to parameters during upscale are:
Euler/Beta
10 steps
Resize by 2
Shift 3
ReSharpen 0,9 1-Sin
MOD on
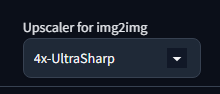
Upscaler - select one that suits you most:

Just look at that hair.
But this method has its own quirks. This is original:
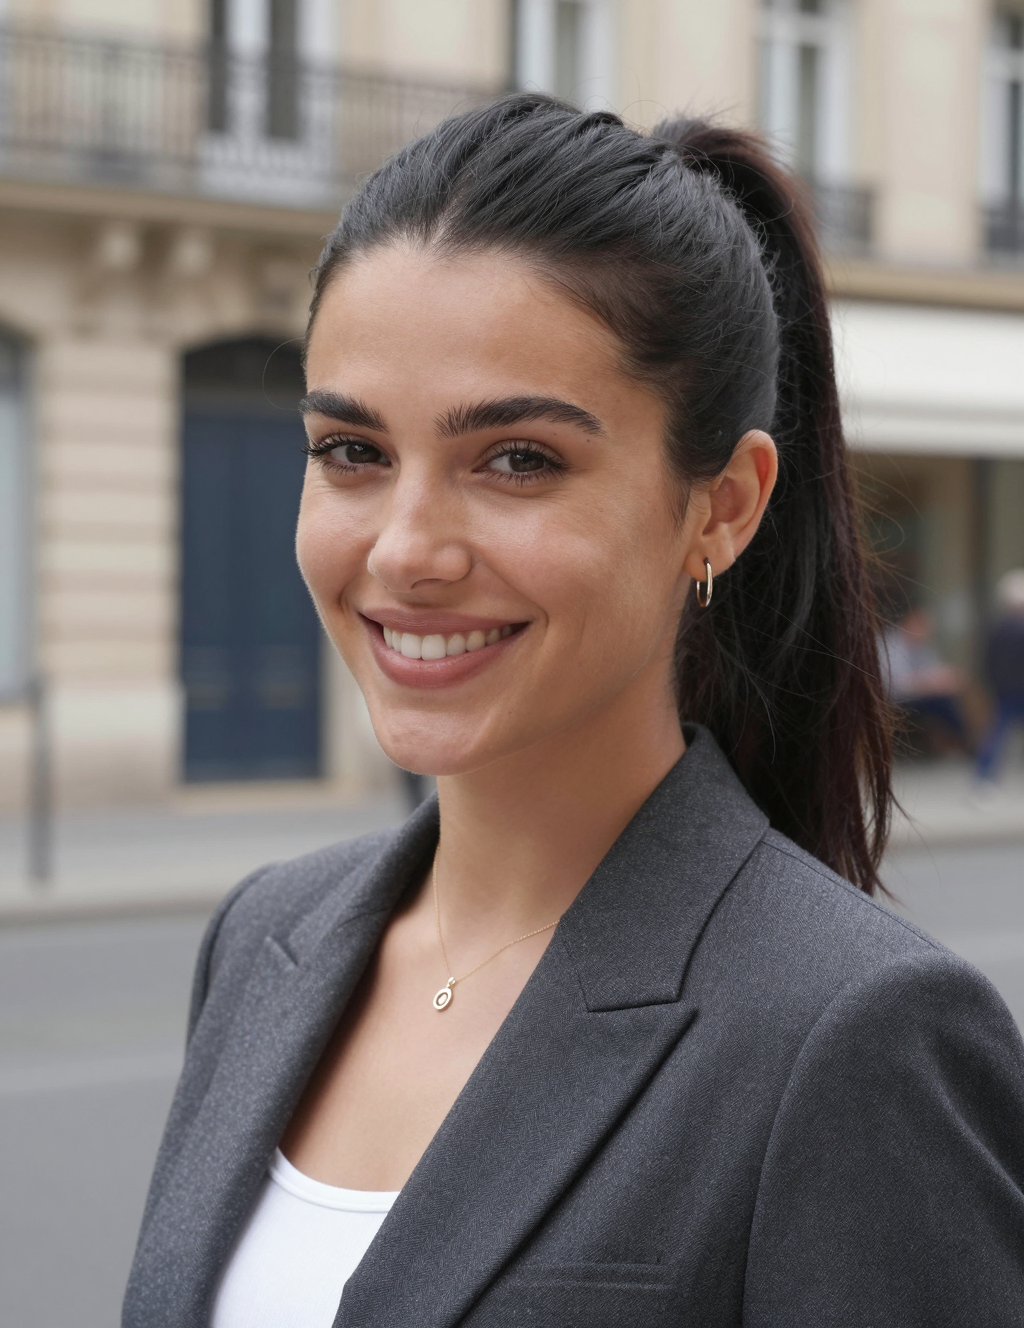
This is upscale with all the parameters:

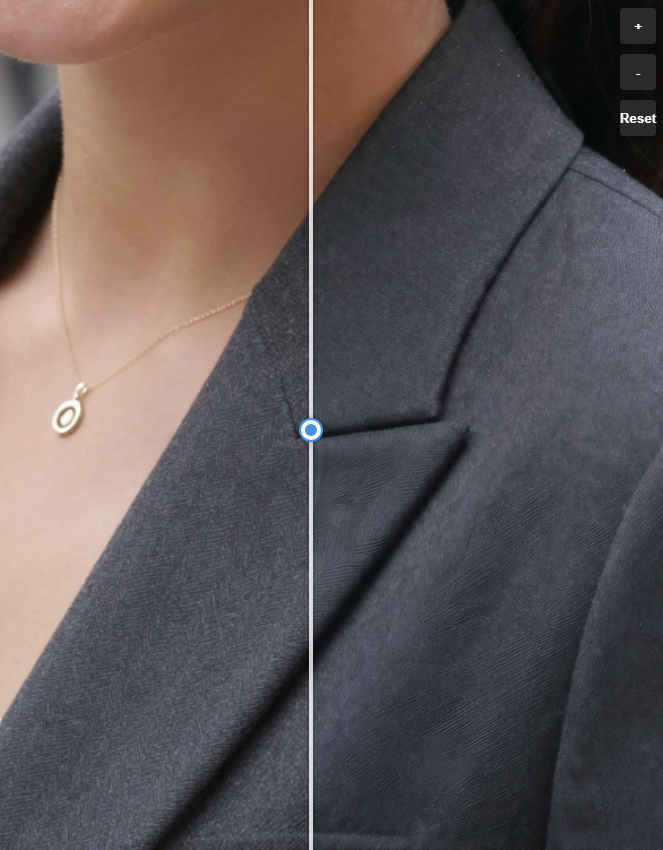
Check the jacket on the right. In original it feels like it is made from different material. After upscale it gets worse. While technically right image has more details - it simply looks bad. That's upscaler and mod messing with you. Mod splits image into 4 and if you did not prompt material explicitly - model can go wherever seed leads it.
Here is result of 4x Ultrasharp on the left and Nearest as upscaler on the right:
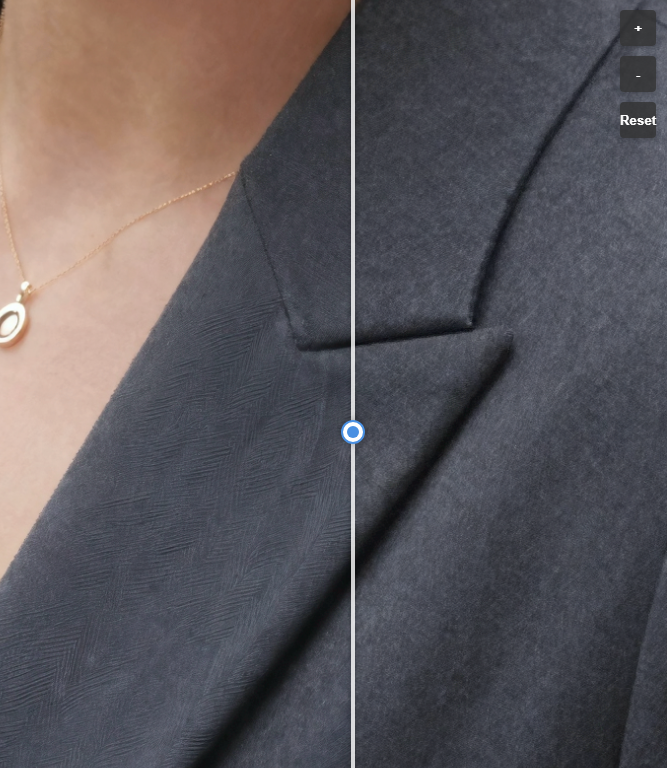
Seems better, but still completely different material. Any model would do that.
For example original on the left, Nearest as upscaler and mod disabled on the right:
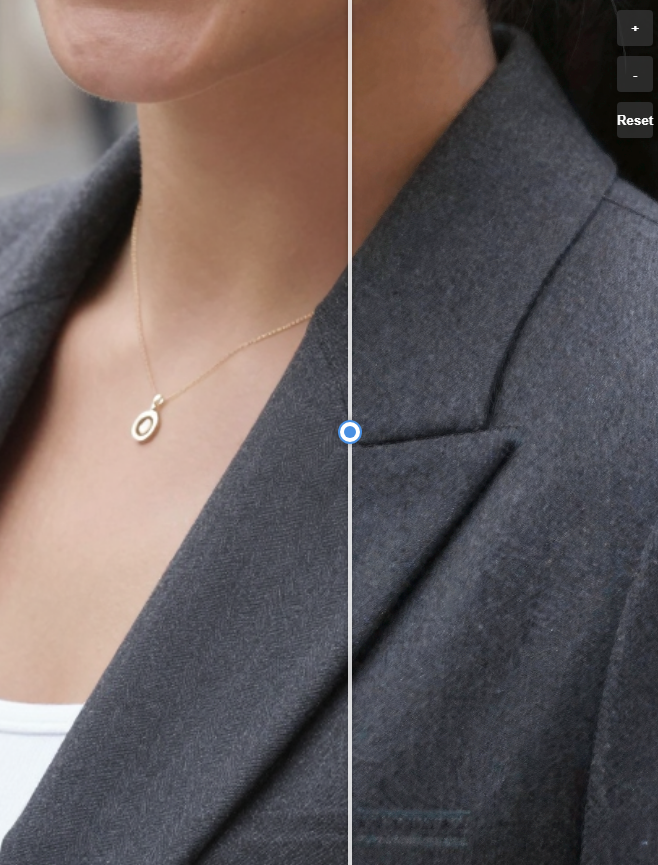
Still completely different texture. How to fix that? Just inpaint with even higher denoise:


That's it! Have fun.